Using Azure Pipelines at Dailymotion for the UWP Team, Releasing test builds and publishing to the UWP Store [Part 4]

This article will talk how the dailymotion UWP team used Azure Pipelines to create a CI/CD. We will go over how to setup this CI using YAML.
It will be divided into 4 parts:
Part 2: Running Unit Tests in Azure Pipelines
Part 3: Running UI test with WinAppDrivers in Azure Pipelines
Part 4: Releasing test builds and publishing to the UWP Store
Quick Info: to achieve some of these screenshots I sometimes had to use my personal Microsoft Partner Dev Store, if you see some inconsistencies between the screenshots its normal (I don’t have access to my company AD service).
Let get Started
First off you will need to add the Windows Store plugin to your Azure Pipelines which can be found here.

Next, you will be asked to install this on your Azure DevOps organization:

Head back to our Azure DevOps portal, go to the Pipelines section, select Builds, we will edit our YAML file by adding a task to publish to the Windows Store as follows:

Once we have clicked on Edit we will search for the Windows Store — Flight / Publish tasks:

As you can imagine:
- Windows Store — Flight: will allow you to release to the flight groups you have created here : https://partner.microsoft.com/en-us/dashboard/products/{your-app-id}/overview you can simply add a new flight group by clicking on New package flight.

- Windows Store — Release : will publish your application in release mode.
In Azure Pipelines when you add the task Windows Store — Release you will be asked to fill in the following information Service endpoint & Application ID:

If like me you didn’t add an endpoint (I was on my personal account) we are going to need to add one, if you already have one you can skip this next step.

Adding a Service Endpoint
Head to the the Users Panel in the Settings : https://partner.microsoft.com/en-us/dashboard/account/usermanagement
Select Add Azure AD applications (if you don’t see this you will need to connect an Azure AD to your account).

Create a New Azure AD Application you will get a Tenant ID and Client ID as follows:

Next we will go back to Azure DevOps, select your project and go into Project Settings (located at the bottom left). Add a new Service Connection and add a Windows Dev Center:


Now when you go back to your YAML task you will find your endpoint, if you are setting up Flight releases make sure you correctly set the Flight Name.

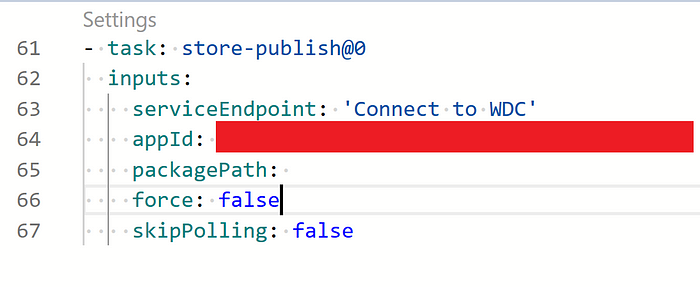
Your YAML will look as follows for a Store Publish:
And now your build will be deployed to the Windows Store when you have built a release version of your app.
Here is the full azure-pipelines.release.yml file we are using:
Happy CI =)
Very Helpful Resources:
![Our journey about adding Dark Theme to our UWP XAML application [1/4]](https://miro.medium.com/v2/resize:fit:679/0*f_AHb2brSUTCJ8yY.png)